 |
|
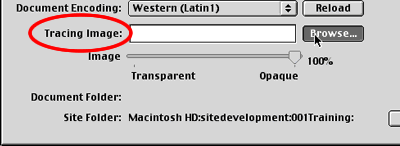
CBT Cafe > Dreamweaver > Basics Your Tracing Image is now visible on your document and you can begin creating tables, layers and images around it. Step 4: Modify the Tracing Image's OpacityAs you begin designing around the Tracing Image and you start having more elements on your page, you may start noticing you're getting confused between the Tracing Image and the newly added elements. Try reducing the opacity a bit by dragging the Transparency slider.
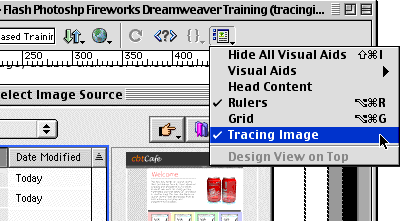
Step 5: Turn off the Tracing Image
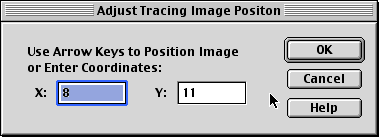
Step 6: Adjust the Tracing Image's positionAdjust the position of your tracing image by going up to View>Tracing Image>Adjust Position...
Step 7: Aligning with SelectionYou can also position the Tracing Image by aligning it with other elements in your document.
|
|
||||||||||
| Home | Dreamweaver | Fireworks | Flash | Photoshop | Elements | PowerPoint| Ebay | QuickTime Pro | Flash 5 CD | Fireworks MX CD | QuickTime Support | Contact Copyright © 1999-2011 CBT Cafe, All rights
reserved CBT Cafe | Multimedia Learning | Interactive Graphics
|


 ion
Dialog