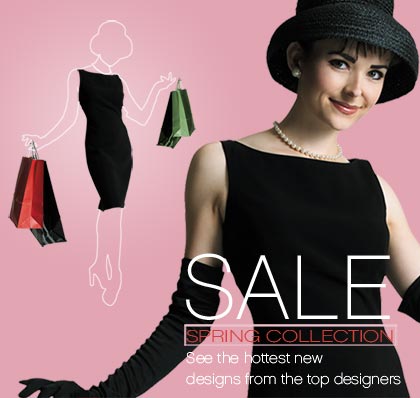
Photoshop CS3: Silhouette Fashion Design Effect
The first step will be to select an image and create a selection path around it. There are several ways we can do about it for this lesson.
The quality of our Photoshop selection in this example is less important because we only want an outline.
Step 1: Getting Started - Removing Image from Background
For this example, we're using an image of a woman over a white background so we can use the Magic Wand to make a quick selection. Because we're creating an outline, we aren't as concerned with a high degree of accuracy and quality. The Magic Wand will work great.
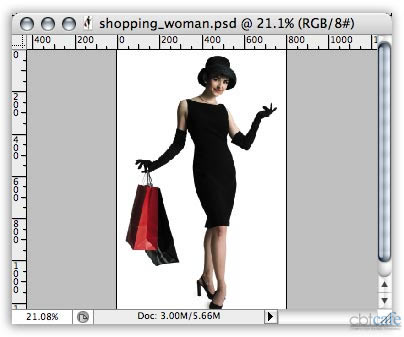
- Open an image in Photoshop
- Duplicate the layer by selecting Background layer and then clicking Cmd-J/Ctrl-J. This puts the Background layer on a new layer named Layer 1.
- Rename the layer by double-clicking it. I called it "Woman Shopping".
- Select the Magic Wand with a moderate tolerance (25 should be fine)
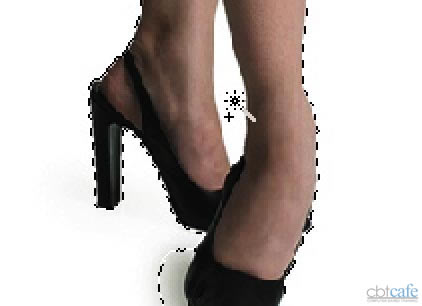
- Click once anywhere in the white area of the image
- Add to the selection by holding the Shift key and clicking in the white area between her feet. (Your image may not have additional white spaces in which case your initial selection with the Magic Wand tool will be sufficient.)
Step 2: Converting the Selection to a Work Path
Now that you have an active selection around your subject, it's time to convert that selection to a work path.
- Select your Paths palette
- Create the work path by Alt-clicking/Option-clicking the Make work path from selection button
- Set the Tolerance to 1.0 and click OK
- Rename the work path by double-clicking the thumbnail. This will save the selection with the file.
Step 3: Creating the Outline Stroke
This next step creates the white outline around the woman. This stroke selection will the main effect for our image.
- Create an active selection by Cmd-clicking/Ctrl-clicking the Paths thumbnail
- Create a New Layer and name it "Outline". The white stroke will go on its own layer.
- Create the outline by going to Edit > Stroke... and enter a Width=1 and Color=white
- Deselect by clicking Cmd-d/Ctrl-D
It's a little hard to appreciate the white stroke at this point so let's take a moment and create a new solid colored layer.
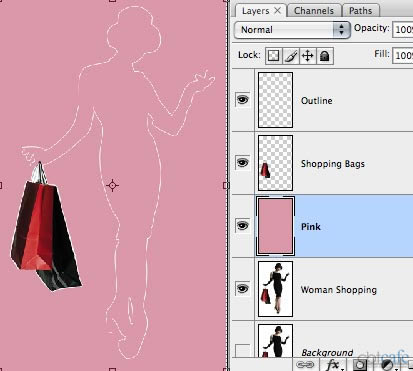
Step 4: Adding a New Background Color Layer
- Create a New Layer between the Background and Woman Shopping layers. I named mine "Pink".
- Select a background color from the Background color picker. I used: #e3a8b5
- Fill the Pink layer with the selected background color by clicking Cmd-Delete/Control-Delete
Step 5: Selecting the Dress and Shopping Bags
Our effect is only half complete. To complete the effect we need to create selections around parts of the image that will remain visible along with the stroke outline. In this example we want the dress and the bags.
We're going to cheat a little here. Rather than creating a new work path around both the bags and the dress, we'll work with the existing path and copy most of the existing selections. This is a great production/workflow tip for working with existing selections.
- Turn off both the Outline and Pink layer's visibility. We want to focus on the work path and the woman's dress.
- Lock the Woman Shopping layer so you don't accidentally select it.
- Return to the Paths palette and click once on the Woman Shopping path to activate it.
- Select the Direct Selection tool and drag a selection around the shopping bags. Be sure to select all the way up to her hands but try not to select the anchor points of her hand. Video Example.
- Copy the selected anchor points by clicking Cmd-C/Ctrl-C
- Create a new work path and be sure it's selected by clicking it once.
- Paste the copied anchor points by clicking Cmd-V/Ctrl-V
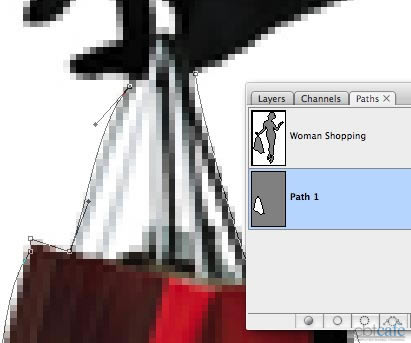
Step 6: Using the Pen Tool to Complete the New Path
We just saved some good production time by copying existing anchor points and pasting them on their own layer.
But the path isn't complete until we join the open anchor points and the Pen tool is just the tool we need.
- Select the Pen tool
- Resume the path by moving the Pen tool over one of the end anchor points. They will be at the top by the woman's hand. The Pen tool will change cursors and a small "square" will appear in place of the "x". This means you're ready to resume the path.
- Click the end point once when you see the small square appear next to the Pen cursor. Depending on your current path, you could have a really long bezier handle. If this is the case, Alt/Option-click the same anchor point you just clicked to delete the curve. Video Example.
- Continue clicking around the bag straps
- Complete the path by moving the Pen over the other endpoint and clicking it when you see a "O" appear next to the Pen cursor.
Step 7: Placing the Bags on a New Layer
- Create an active selection from the Bags work path by Cmd-clicking/Ctrl-clicking the thumbnail
- Return to the Layers palette
- Select the Woman Shopping layer and unlock it
- Create a new layer from selection by clicking Cmd-J/Ctrl-J. This takes the active selection around the Woman Shopping layer and puts only the selected area on its own layer.
- Name the new layer "Shopping Bags"
- Drag Shopping Bags layer above Pink layer
- Turn on visibility for both Pink and Outline layers
- Select the Eraser tool and erase the white outline around the bags. We want the bags to be natural looking with no outlines.
Step 8: Refining the Shopping Bags Selection
There's still some white background showing through the bag handles. This is annoying so we'll want to go back and modify the selection.
- Return to the Paths palette
- Select the work path with the bags
- Select the Pen tool. We're going to add paths to the current path.
- Using the Pen tool, create an outline around the white areas.
- Repeat 3-4 times until you've made all the selections. Be sure to complete each path by clicking at your starting anchor point when you see the small "O" appear next to the Pen cursor.
- Create an active selection by Cmd/Ctrl-Clicking the Bags work path layer.
- Make an inverse selection by clicking Cmd/Ctrl-I
- Delete everything outside the selection by clicking Delete/Backspace

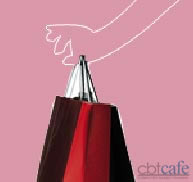
Step 9: Duplicating the Bags and Changing Their Color
Let's repurpose the existing shopping bags by duplicating them and modifying their colors.
- Duplicate the Shopping Bags layer by dragging the layer to the New Layer icon
- Using the Move tool and drag the Shopping Bags up to the woman's left hand
- Scale the bags by shift-clicking one of the corner transformation handles and dragging inward
- Hit Return/Enter to accept the transformation
Step 10: Changing the Colors
- Create a Hue/Saturation adjustment layer by Option/Alt-clicking the "Create new fill or adjustment layer" icon at the bottom of the Layers palette
- Select Hue/Saturation...from the options
- Check "Use Previous Layer to Create Clipping Mask" in the pop up dialog window
- Click OK
- Select Colorize from the Hue/Saturation window
- Adjust the Hue and Saturation sliders to change the colors of the bags
- Click OK
And that's it. Repeat for the dress, add some type and your effect is complete!
|