Flash MX: Using Templates
Step 2: Creating A Template
Creating templates is as simple as saving a file in Flash
MX. After we cover saving a file as a template, we'll go into
some common design techniques for organizing and setting up
your templates.
- Create a new document in Flash MX with any graphics or
objects you want to be included in your template.
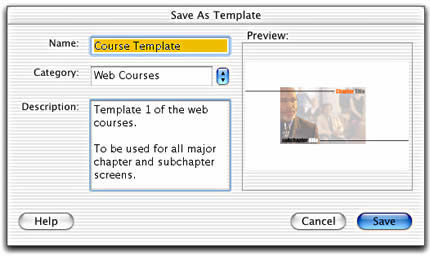
- Go up to File>Save As..
- In the Name field type in
a name for your template. I named this template "Course
Template."
- In the Category field type
in a new category or select an existing category from the
drop down menu. Since this is a custom template for a new
category, I'll create a new category by typing in the name:
Web Courses.
- In the Description field
type in a brief description of your template.
That's all there is to it. You have now saved a document
as a template.
Step 3: Creating
A New Document From A Template
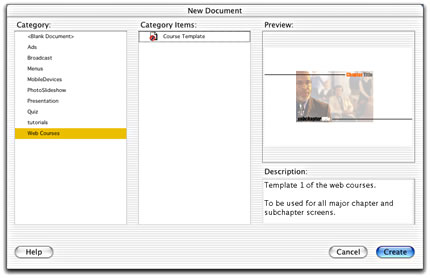
- Go up to File>New
From Template...
- Select the Category that
contains your desired template. In this example, I created
a new category called "Web Courses" which is the
category I will select.
- In the Category Items list,
select the template you wish to use. In this example there
is only one template called "Course Template."
Click the template name once to preview the first frame
of the file as well as to read the description in the Preview
list.
- Click Create
Typically, I will first create my Flash document using Layer
Folders, Guide Layers, and Background Elements and then save
the document as a Template.
Additional Lessons: Guide
Layers and Layer
Folders
|